Print it today · 15 projects

Printable restaurant menus. Print yours today.

Your QR menu, on paper: 15 menus you can make with a printer, a ruler and an afternoon. Each one matches a print format in GustoQR.

Print, cut, assemble

15 menus you can make this week.

Each project matches a print format in GustoQR, so the menu lands at the right size, with room left for the clip, the holes or the fold. Pick one, print it, follow the drawings.

Wooden clipboard menu

One sheet, one clip. The quickest menu to swap when the specials change.
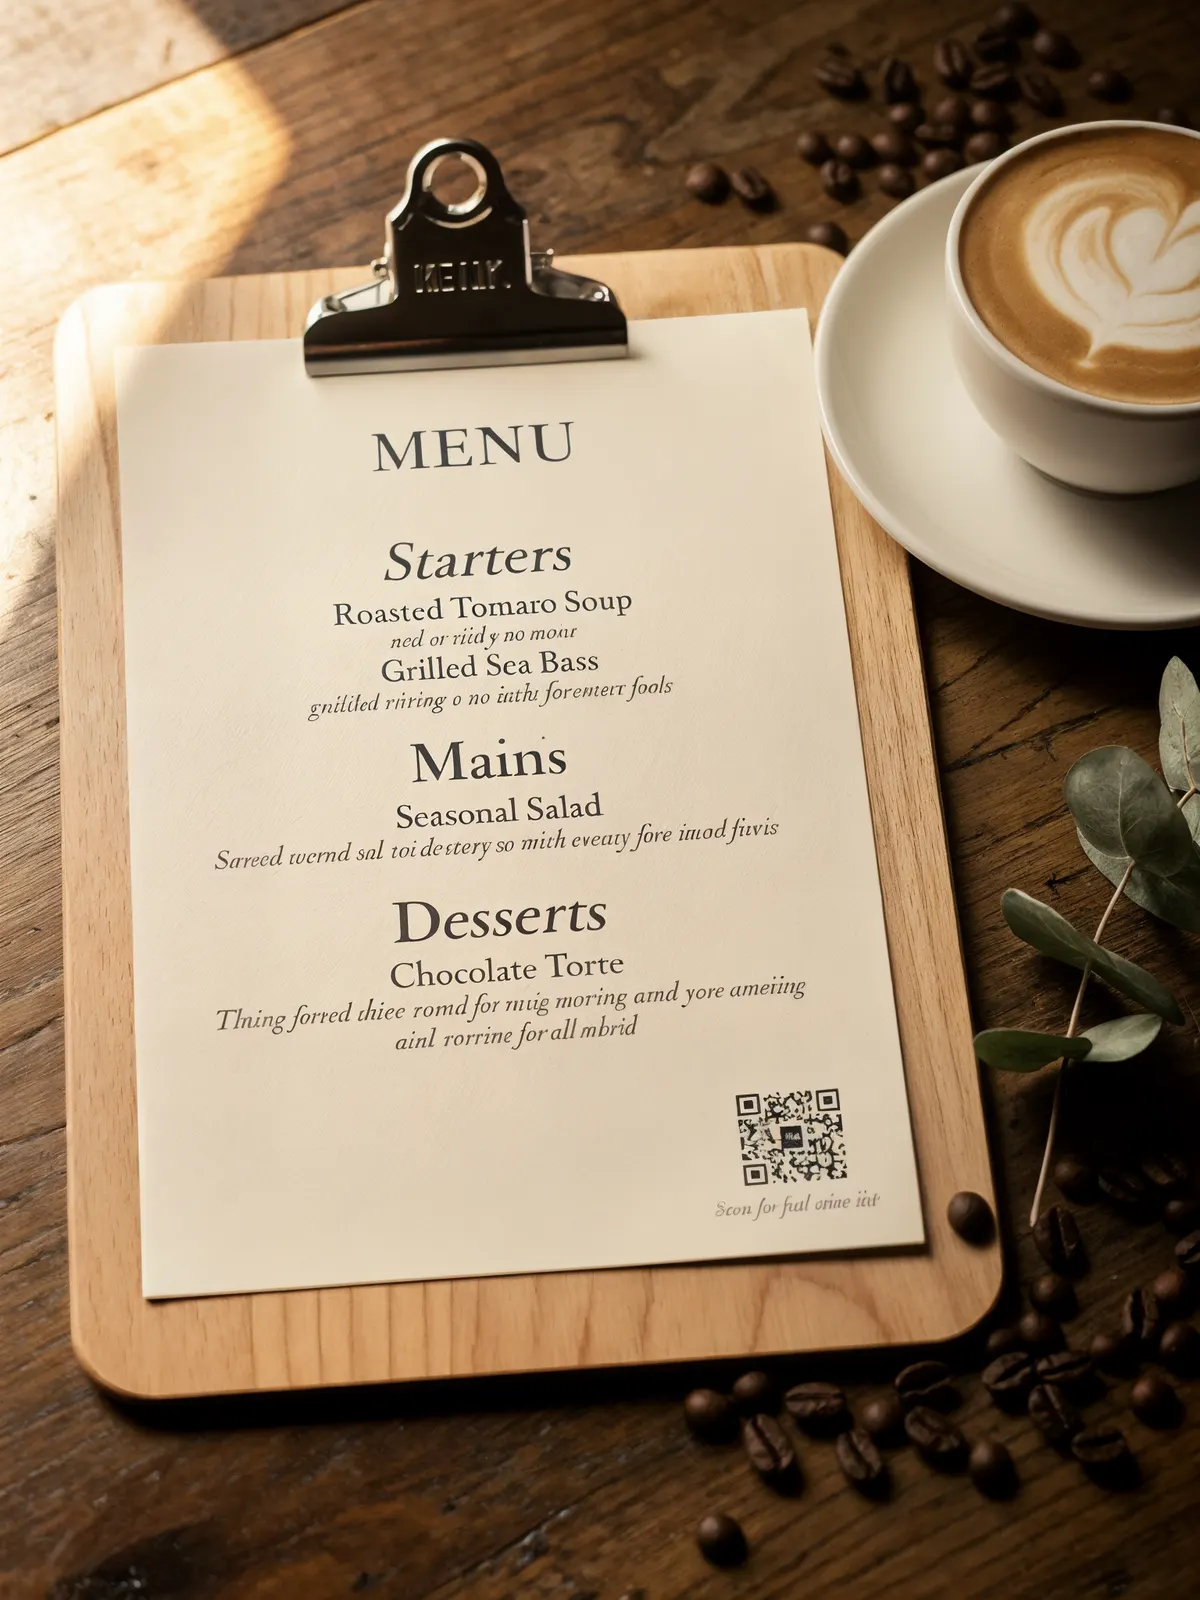
Wooden clipboard menu
Time
10 min
Cost
Difficulty

Best for: Cafés, bistros, wine bars, brunch spots

You need

  • A4, Letter or A5 wooden clipboards, one per table
  • Matte paper, 120-160 gsm
  • Optional: hooks on the wall to hang them
  1. Step 1: Print the menu on one page.
  2. Step 2: Keep the top clear for the clip.
  3. Step 3: Slide the sheet under the clip.
  4. Step 4: Done. Swap the page in seconds.

Tip: Use A5 boards for small tables and A4 for the full menu. Both print from the same menu.

Print settings
  • A4, Letter or A5
  • 120-160 gsm
  • single-sided
  • fits 1 page
Print this format

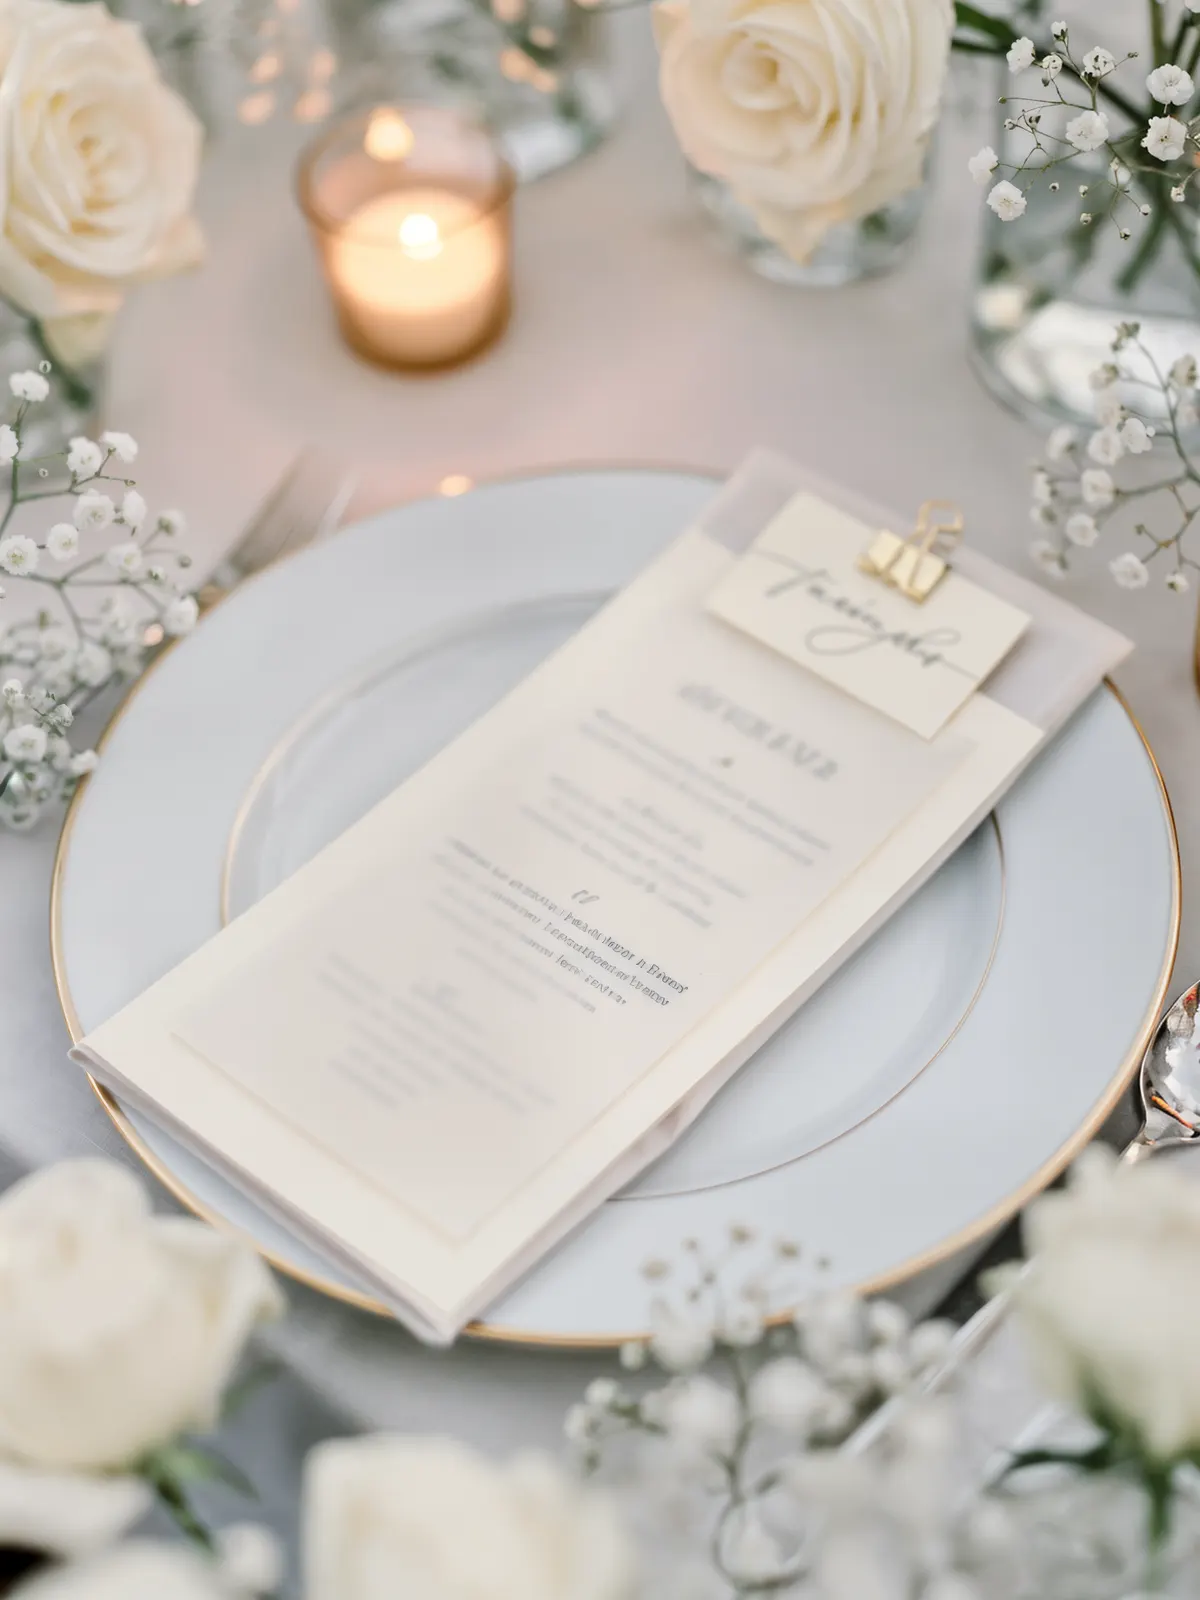
Vellum place menu with name tag

A long menu on every plate, a vellum veil on top and the guest’s name under a gold clip. Made for set menus.

Vellum place menu with name tag
Time
40 min
Cost
Difficulty

Best for: Tasting menus, weddings, private dining, hotel events

You need

  • A4 card, 250-300 gsm
  • A4 vellum (translucent paper), 90-110 gsm
  • Gold paper clips
  • Small kraft tags or card offcuts
  • Ruler, craft knife, cutting mat
  1. Step 1: Print three cards on one A4.
  2. Step 2: Cut them apart on the crop marks.
  3. Step 3: Lay a strip of vellum on top.
  4. Step 4: Write each guest’s name on a tag.
  5. Step 5: Clip tag, vellum and card together.
  6. Step 6: Set one on every plate.

Tip: Lay a sheet of vellum on the printed card sheet and cut both at once on the crop marks. The layers line up exactly.

Print settings
  • A4 landscape
  • 3 cards per sheet
  • 99 × 210 mm
  • 250-300 gsm
Print this format

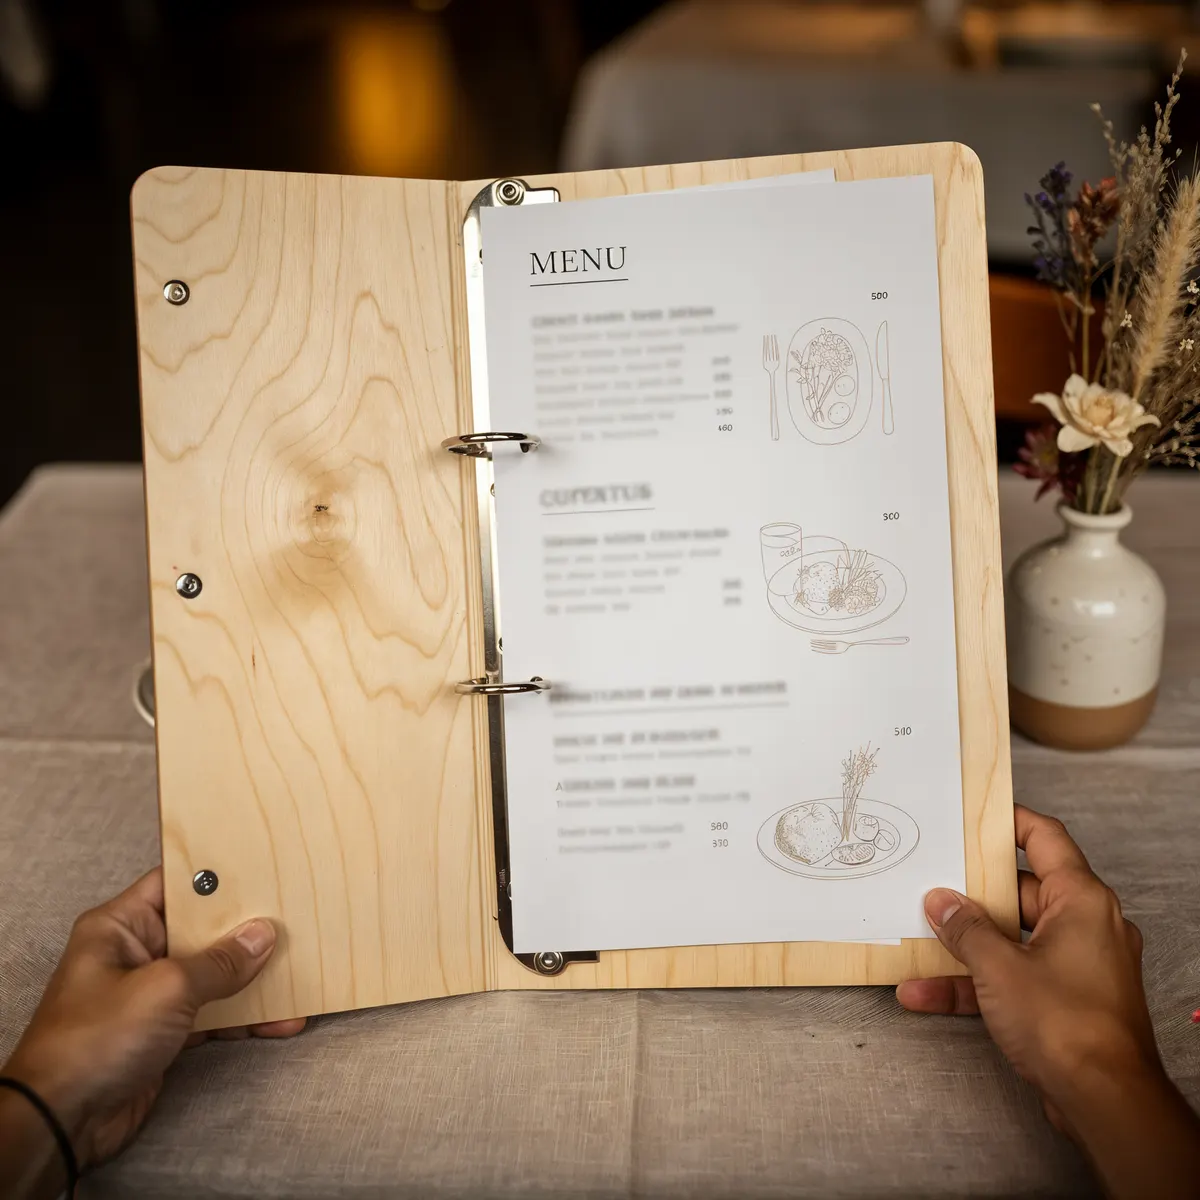
Plywood ring-binder menu

A wooden cover with metal rings and screws. It looks made to order and lasts for years; only the pages change.

Plywood ring-binder menu
Time
2 h
Cost
Difficulty

Best for: Restaurants, steakhouses, cocktail bars, hotel rooms

You need

  • 2 plywood boards, about 23 × 31 cm, 4-6 mm thick
  • 1 plywood strip, about 3 × 31 cm, for the spine
  • 4 small hinges with short screws
  • A 2- or 4-ring binder mechanism
  • Sandpaper, screwdriver, hole punch
  • Paper for the pages, 160 gsm
  1. Step 1: Print both sides, two columns.
  2. Step 2: Punch the holes on the inner edge.
  3. Step 3: Hinge both boards to the spine strip.
  4. Step 4: Screw the rings inside the back board.
  5. Step 5: Open the rings, add the pages.
  6. Step 6: Close it. Good for years.

Tip: Buy the ring mechanism first and mark its ring positions on a test sheet before you punch. A coat of hard-wax oil keeps the wood clean.

Print settings
  • A4 or Letter
  • 160 gsm
  • double-sided
  • 22 mm kept clear for holes
Print this format

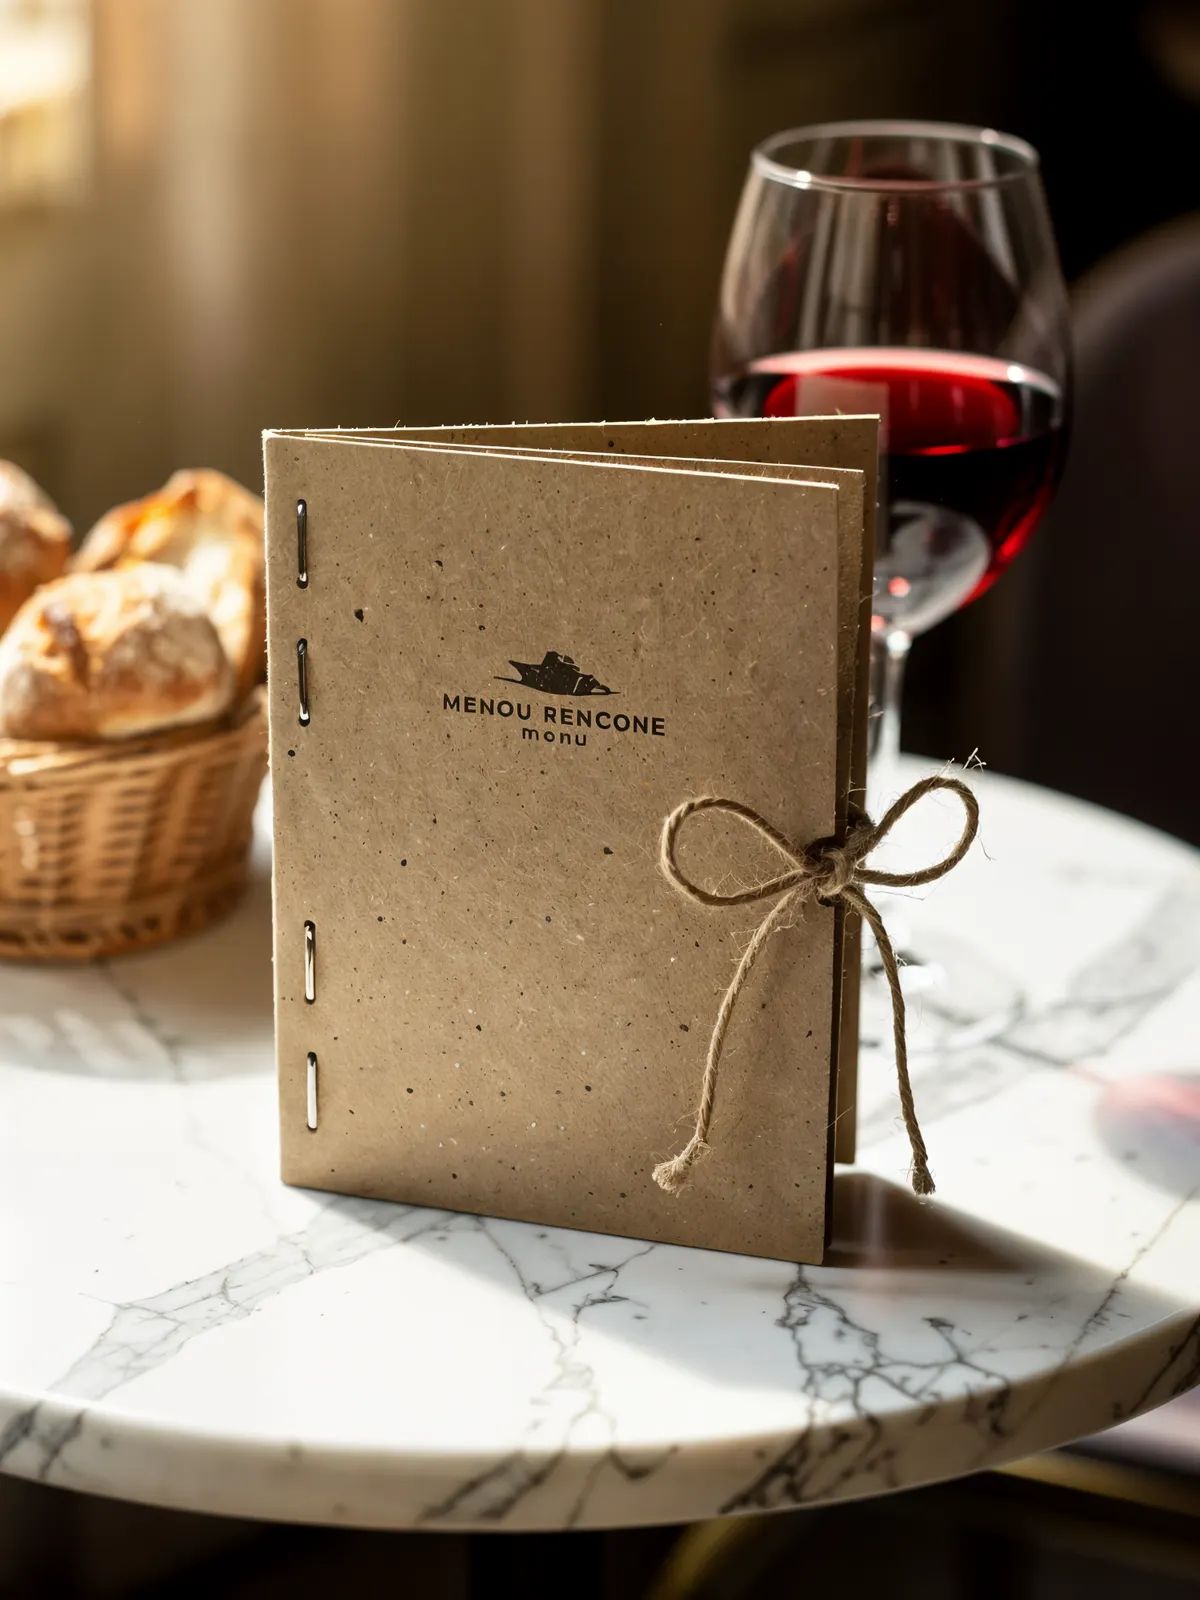
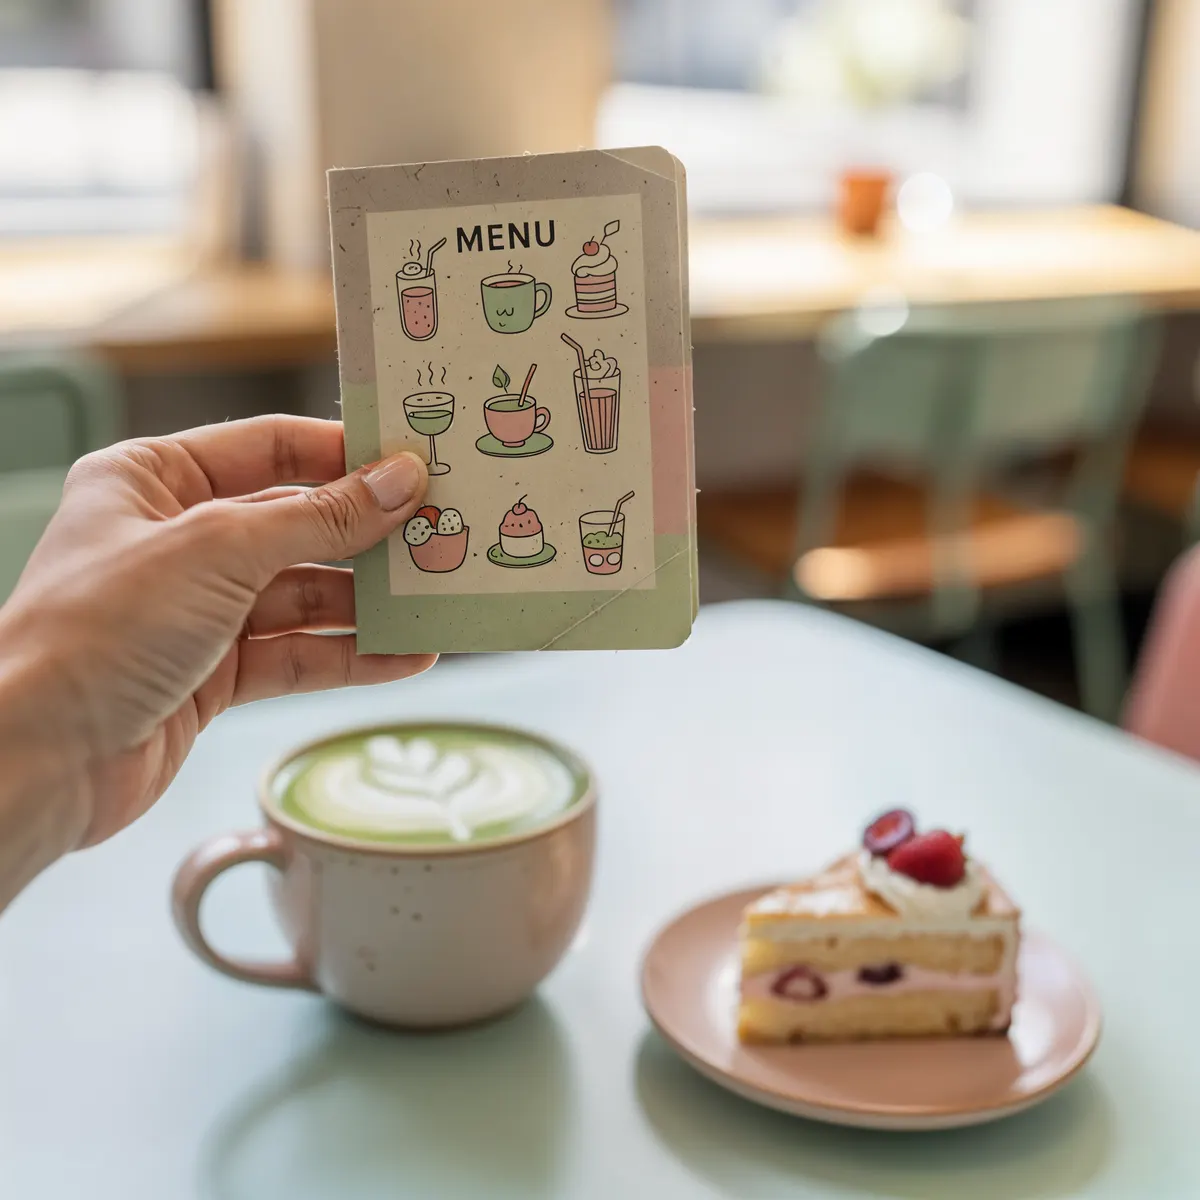
Kraft card booklet with twine

A few folded pages in a kraft cover, stapled on the fold and tied with twine. Warm, light and cheap to reprint.

Kraft card booklet with twine
Time
30 min
Cost
Difficulty

Best for: Bakeries, farm-to-table kitchens, cafés, small-plates bars

You need

  • Paper for the pages, 120-160 gsm
  • A4 kraft card for the cover, 250-300 gsm
  • A long-reach stapler
  • Jute twine or ribbon
  1. Step 1: Print double-sided, flip on the short edge.
  2. Step 2: Fold each sheet in half.
  3. Step 3: Nest the pages in the kraft cover.
  4. Step 4: Staple twice on the fold.
  5. Step 5: Tie twine round the spine.
  6. Step 6: Stack them at the host stand.

Tip: GustoQR prints the pages in booklet order, so they read right once folded. Print one copy first and check it.

Print settings
  • A4 landscape
  • double-sided, short-edge flip
  • 120-160 gsm
  • A5 pages
Print this format

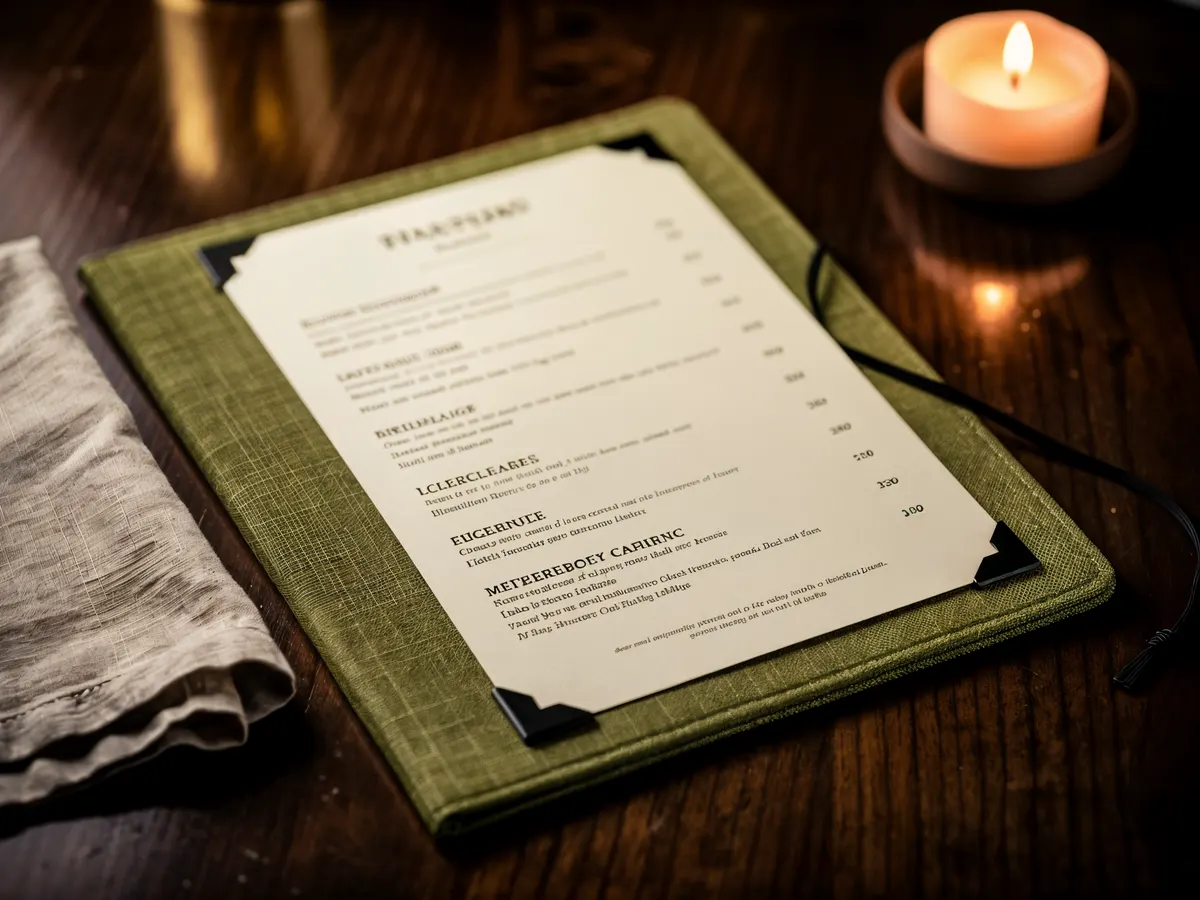
Make your own menu cover

Board, linen or a leather offcut, and glue. A cover that matches your room, holding a page you print yourself.

Make your own menu cover
Time
1.5 h
Cost
Difficulty

Best for: Restaurants, hotels, wine bars, salons with a price list

You need

  • 2 boards a little bigger than A4: 2 mm greyboard or 3 mm plywood
  • Linen, canvas or a leather offcut, about 50 × 36 cm
  • PVA or bookbinding glue and a brush
  • 4 black photo corners, or a flat elastic band
  • Ruler, craft knife, cutting mat
  1. Step 1: Cut two boards, 6 mm bigger than A4.
  2. Step 2: Glue them on the fabric, gap between.
  3. Step 3: Cut the corners, fold the edges over.
  4. Step 4: Photo corners hold a single sheet.
  5. Step 5: An elastic holds folded pages.
  6. Step 6: Slide in the printed menu.

Tip: Leave a spine gap about twice the board thickness so the cover closes flat. Press it under heavy books overnight.

Print settings
  • A4 or Letter
  • 120-160 gsm
  • single-sided
  • fits 1 page
Print this format

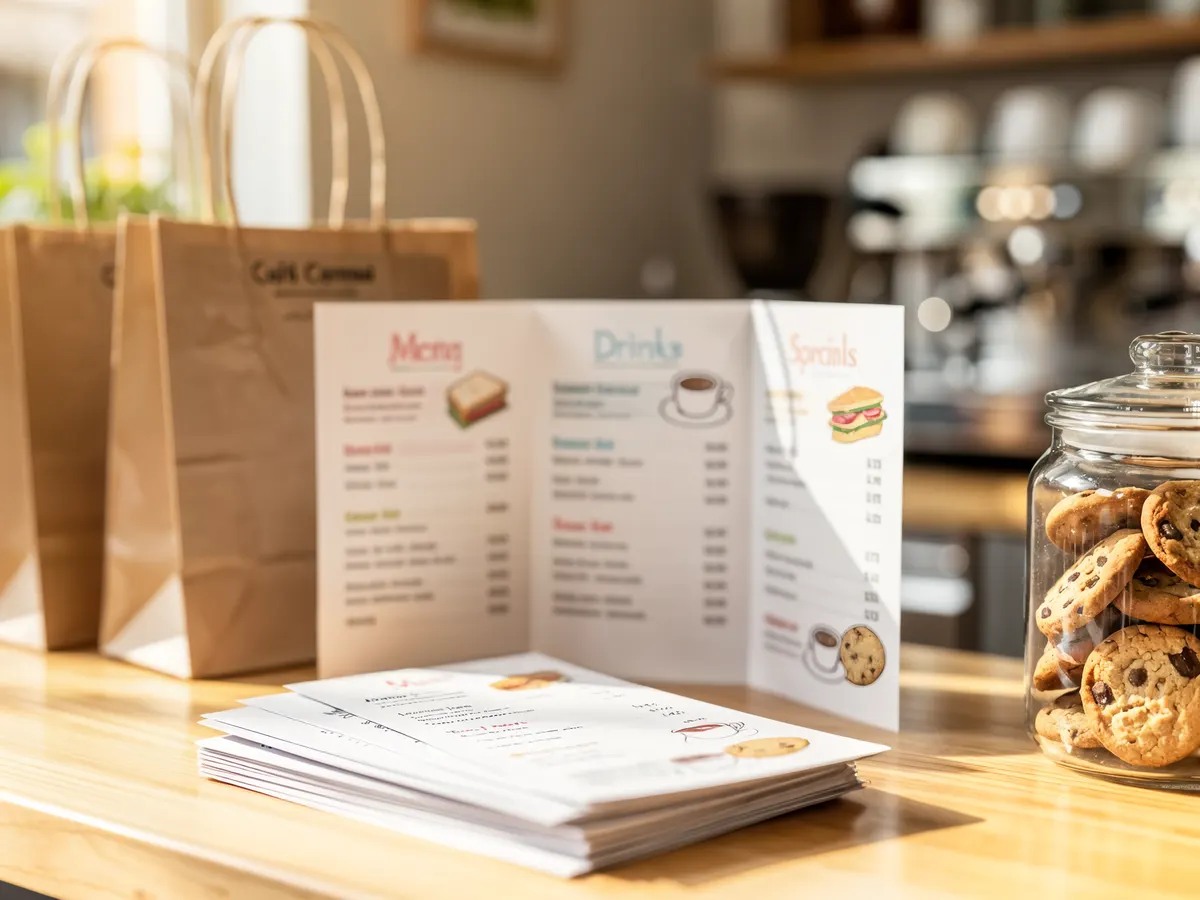
Tri-fold takeaway menu

Six panels from one sheet: the menu, your hours and a QR code. It goes home in every bag.

Tri-fold takeaway menu
Time
15 min
Cost
Difficulty

Best for: Takeaways, pizzerias, cafés, food trucks

You need

  • A4 or Letter paper, 120-170 gsm
  • A ruler and a bone folder, or the back of a butter knife
  1. Step 1: Print both sides, landscape.
  2. Step 2: Score the two fold lines.
  3. Step 3: Fold the right panel in, then the left.
  4. Step 4: The back panel carries your QR code.

Tip: The QR on the back panel is the side people see on a fridge or a counter. It opens your live menu, so old copies never show old prices.

Print settings
  • A4 or Letter landscape
  • double-sided
  • 120-170 gsm
  • 6 panels
Print this format

Table tent

One sheet folded into a tent: specials on one face, the QR menu on the other. It stands on any table.

Table tent
Time
10 min
Cost
Difficulty

Best for: Cafés, pubs, hotel breakfast rooms, salons

You need

  • A4 or Letter card, 250-300 gsm
  • Ruler and bone folder
  1. Step 1: Print on card, top half upside down.
  2. Step 2: Score across the middle.
  3. Step 3: Fold it into a tent.
  4. Step 4: Stand one on every table.

Tip: Score before you fold: card folded without a score cracks along the crease.

Print settings
  • A4 or Letter
  • 250-300 gsm
  • single-sided
  • 2 faces
Print this format

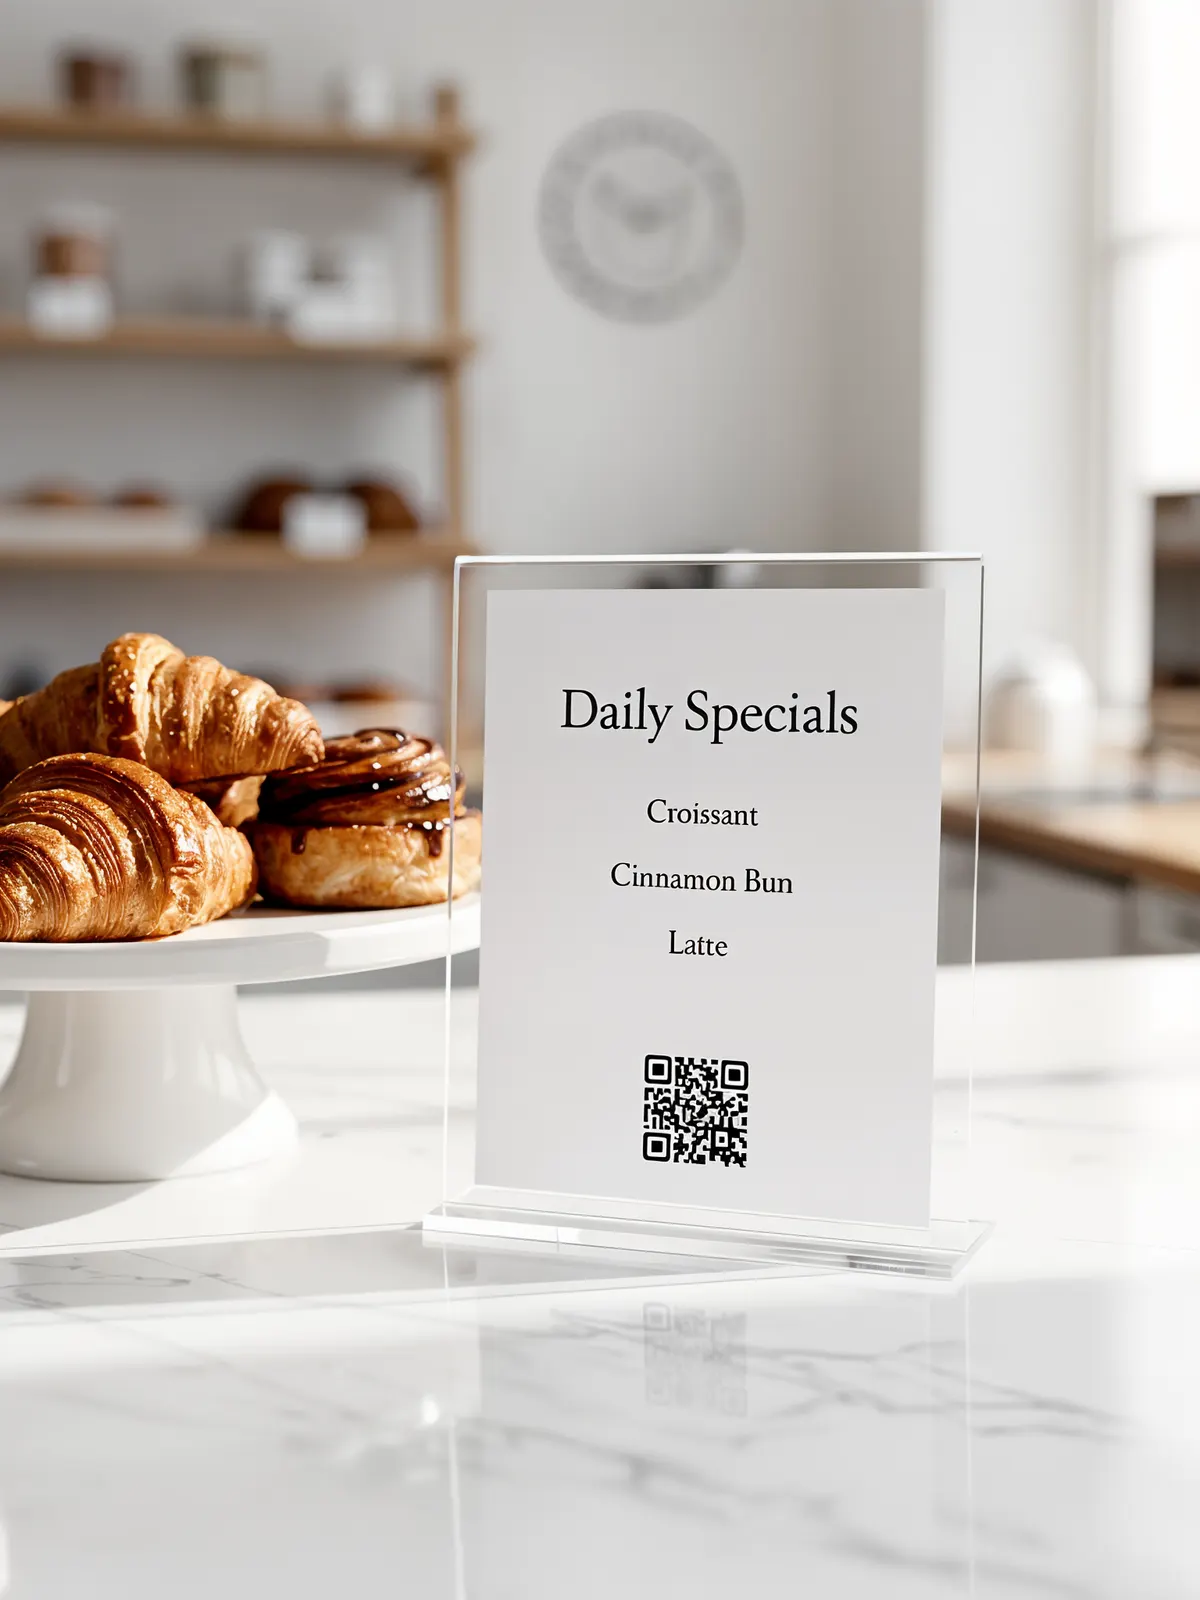
Specials card in an acrylic stand

An A5 card in a clear stand: today’s specials, the set lunch or the wine of the week. Swap it every day.

Specials card in an acrylic stand
Time
10 min
Cost
Difficulty

Best for: Counters, cafés, hotel receptions, salons

You need

  • A5 acrylic stand, T or L shape
  • A4 card, 200-300 gsm
  • Ruler, craft knife, cutting mat
  1. Step 1: Print two A5 cards on one A4.
  2. Step 2: Print at 100%, or it won’t fit.
  3. Step 3: Cut across the middle mark.
  4. Step 4: Slide the card into the stand.

Tip: A T-shaped stand shows both faces: specials on the front, the QR code on the back.

Print settings
  • A4
  • 2 cards per sheet
  • 148 × 210 mm
  • 200-300 gsm
Print this format

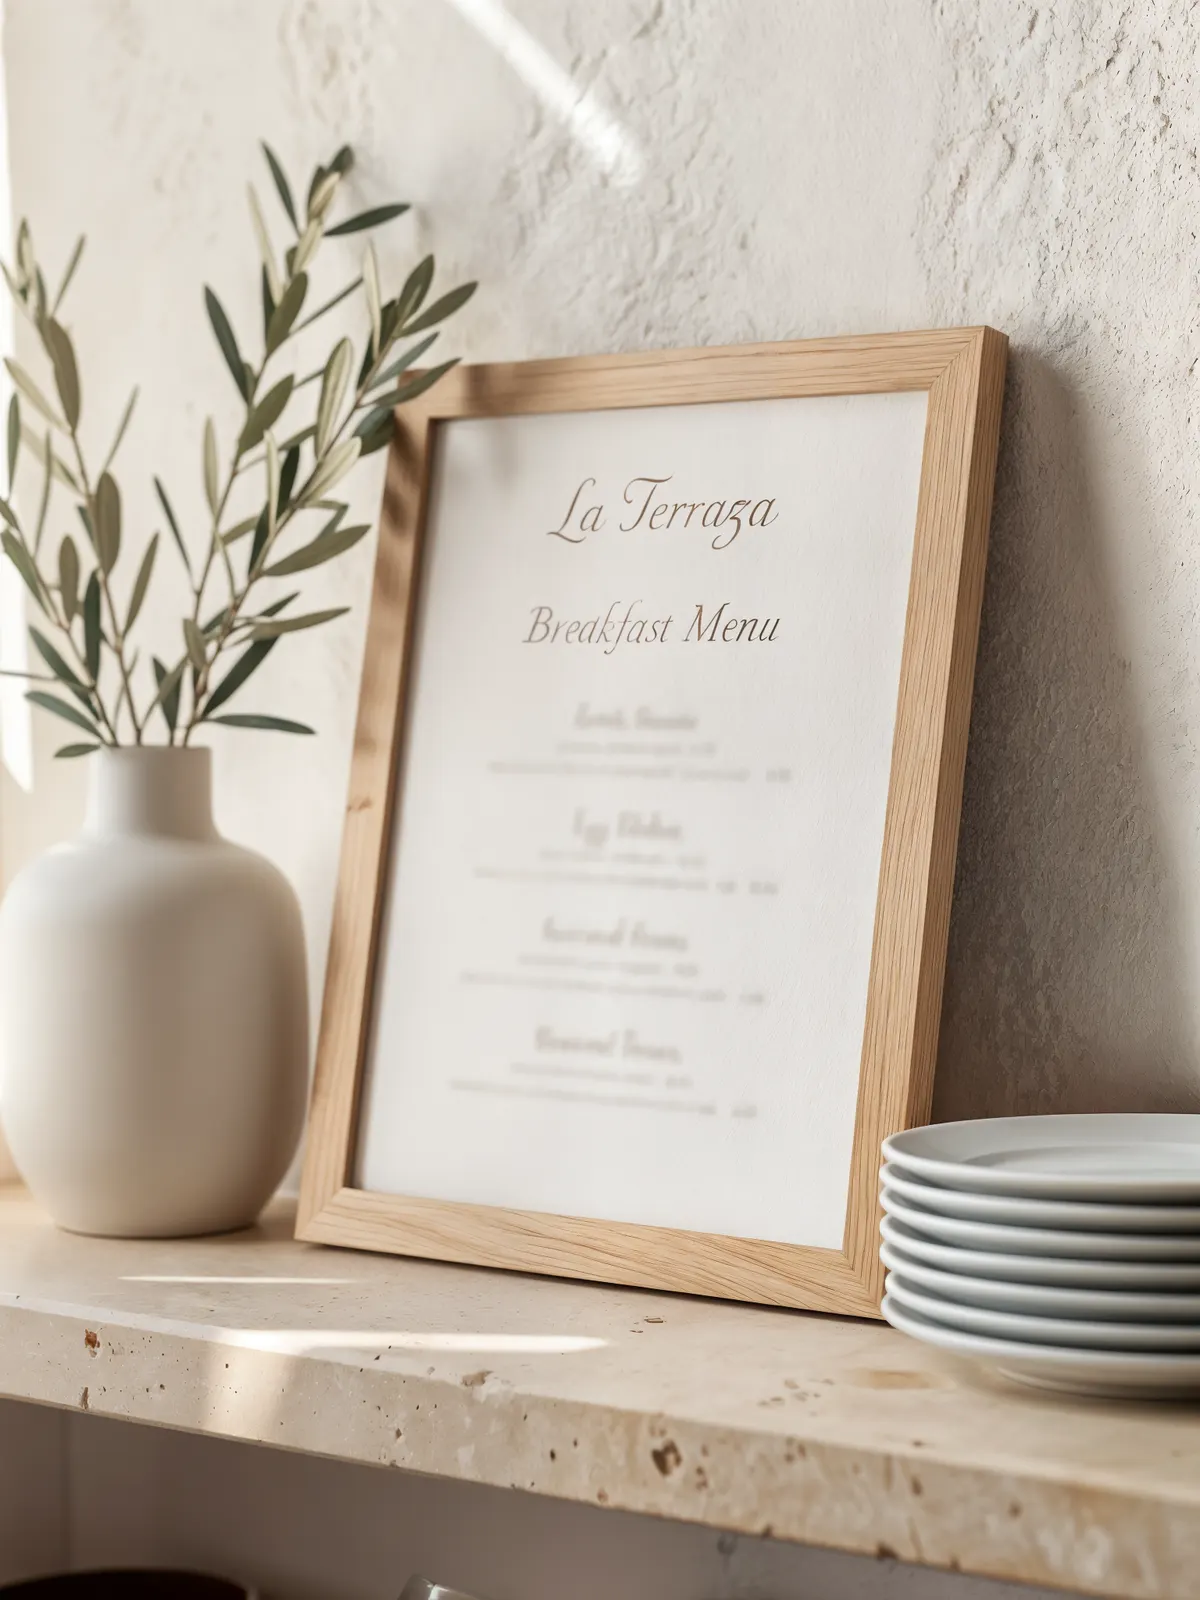
Framed counter or wall menu

A picture frame turns a printed page into a menu board. On the wall by the door, or standing on the counter.

Framed counter or wall menu
Time
10 min
Cost
Difficulty

Best for: Coffee bars, bakeries, barbers, nail salons

You need

  • A4, Letter or A3 picture frame
  • Matte paper, 170-200 gsm
  • A nail or picture hook
  1. Step 1: Print on matte paper.
  2. Step 2: Open the clips, lift the back.
  3. Step 3: Lay the menu in, close the back.
  4. Step 4: Hang it at eye level.

Tip: Matte paper does not glare behind glass. An A4 menu in an A3 frame with a wide mount looks twice the price.

Print settings
  • A4, Letter or A3
  • 170-200 gsm matte
  • single-sided
  • fits 1 page
Print this format

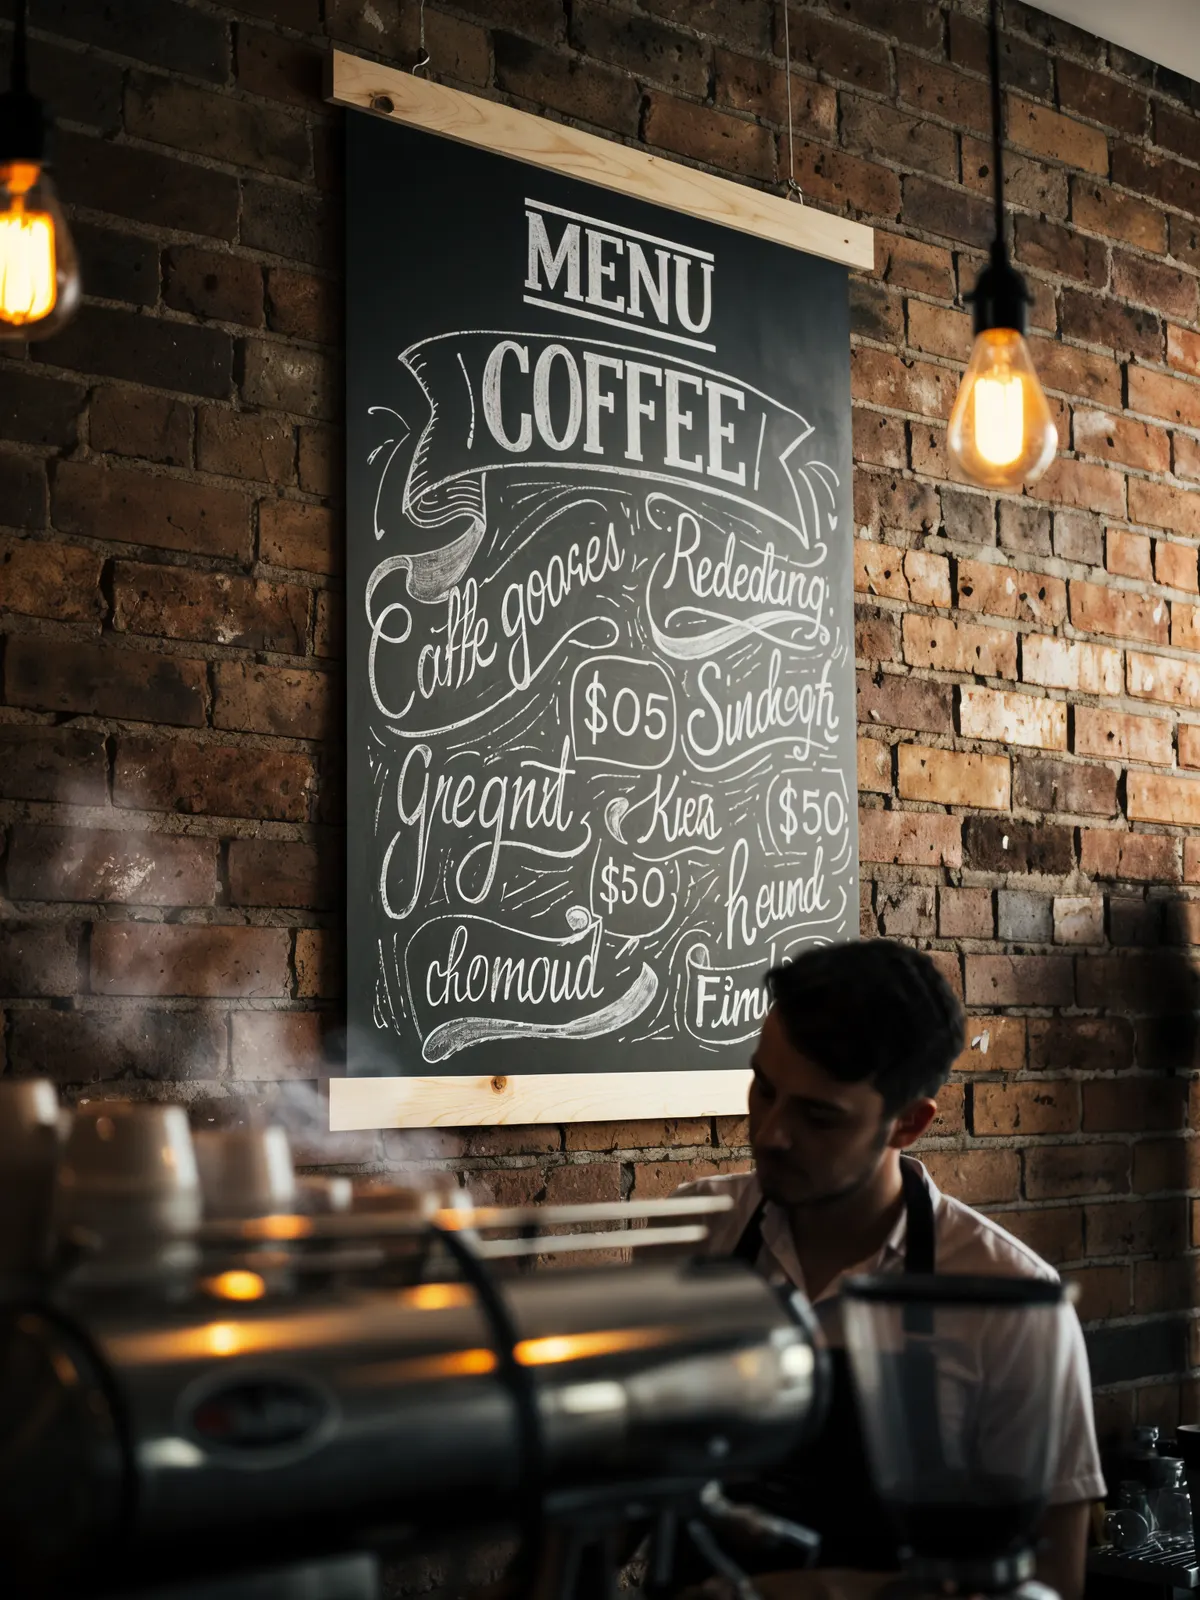
Chalkboard-style wall menu

The chalkboard look without the chalk dust: a big dark print clamped between two wooden battens.

Chalkboard-style wall menu
Time
30 min
Cost
Difficulty

Best for: Coffee shops, bars, burger joints, food halls

You need

  • An A3 or A2 print from a print shop
  • 4 thin wooden battens, as wide as the poster
  • Small screws or strong magnets
  • Cord and a nail
  1. Step 1: Download the PDF with bleed and crop marks.
  2. Step 2: Print A3 or A2 at a print shop.
  3. Step 3: Clamp it between the wooden battens.
  4. Step 4: Hang it where the queue forms.

Tip: Solid dark backgrounds streak on most home printers. A print shop lays them down evenly.

Print settings
  • A3 or A2
  • 170-200 gsm matte
  • print shop
  • 3 mm bleed
Print this format

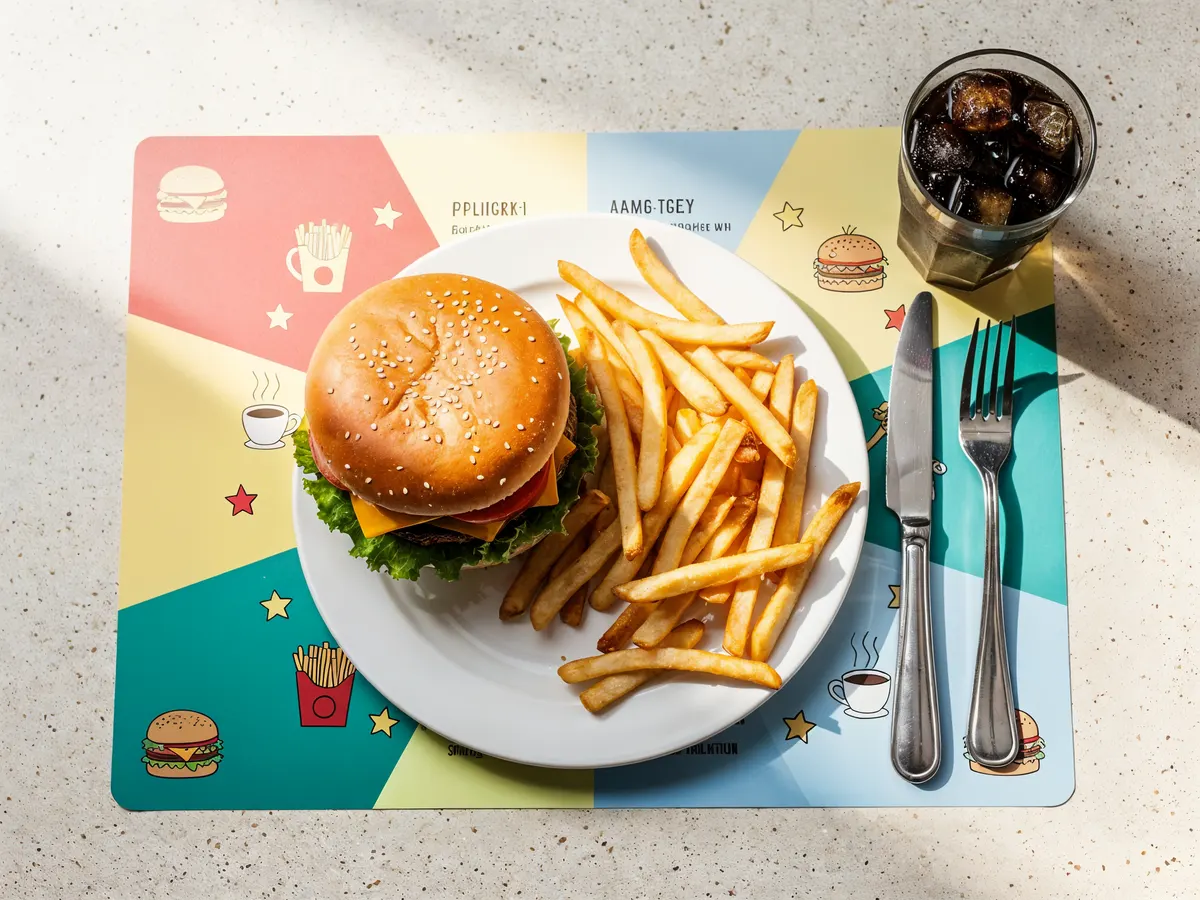
Paper placemat menu

The menu under every plate. Guests read it while they wait, and you change it every season.

Paper placemat menu
Time
15 min
Cost
Difficulty

Best for: Diners, pizzerias, family restaurants, beach bars

You need

  • A3 or Tabloid paper, 90-120 gsm, printed in a stack at a print shop
  1. Step 1: Print a stack at a print shop.
  2. Step 2: Keep the pile at the service station.
  3. Step 3: Lay one under every plate.

Tip: Keep the middle for the plate: dishes go to the sides, the QR code in a corner.

Print settings
  • A3 or Tabloid landscape
  • 90-120 gsm
  • single-sided
  • fits 1 page
Print this format

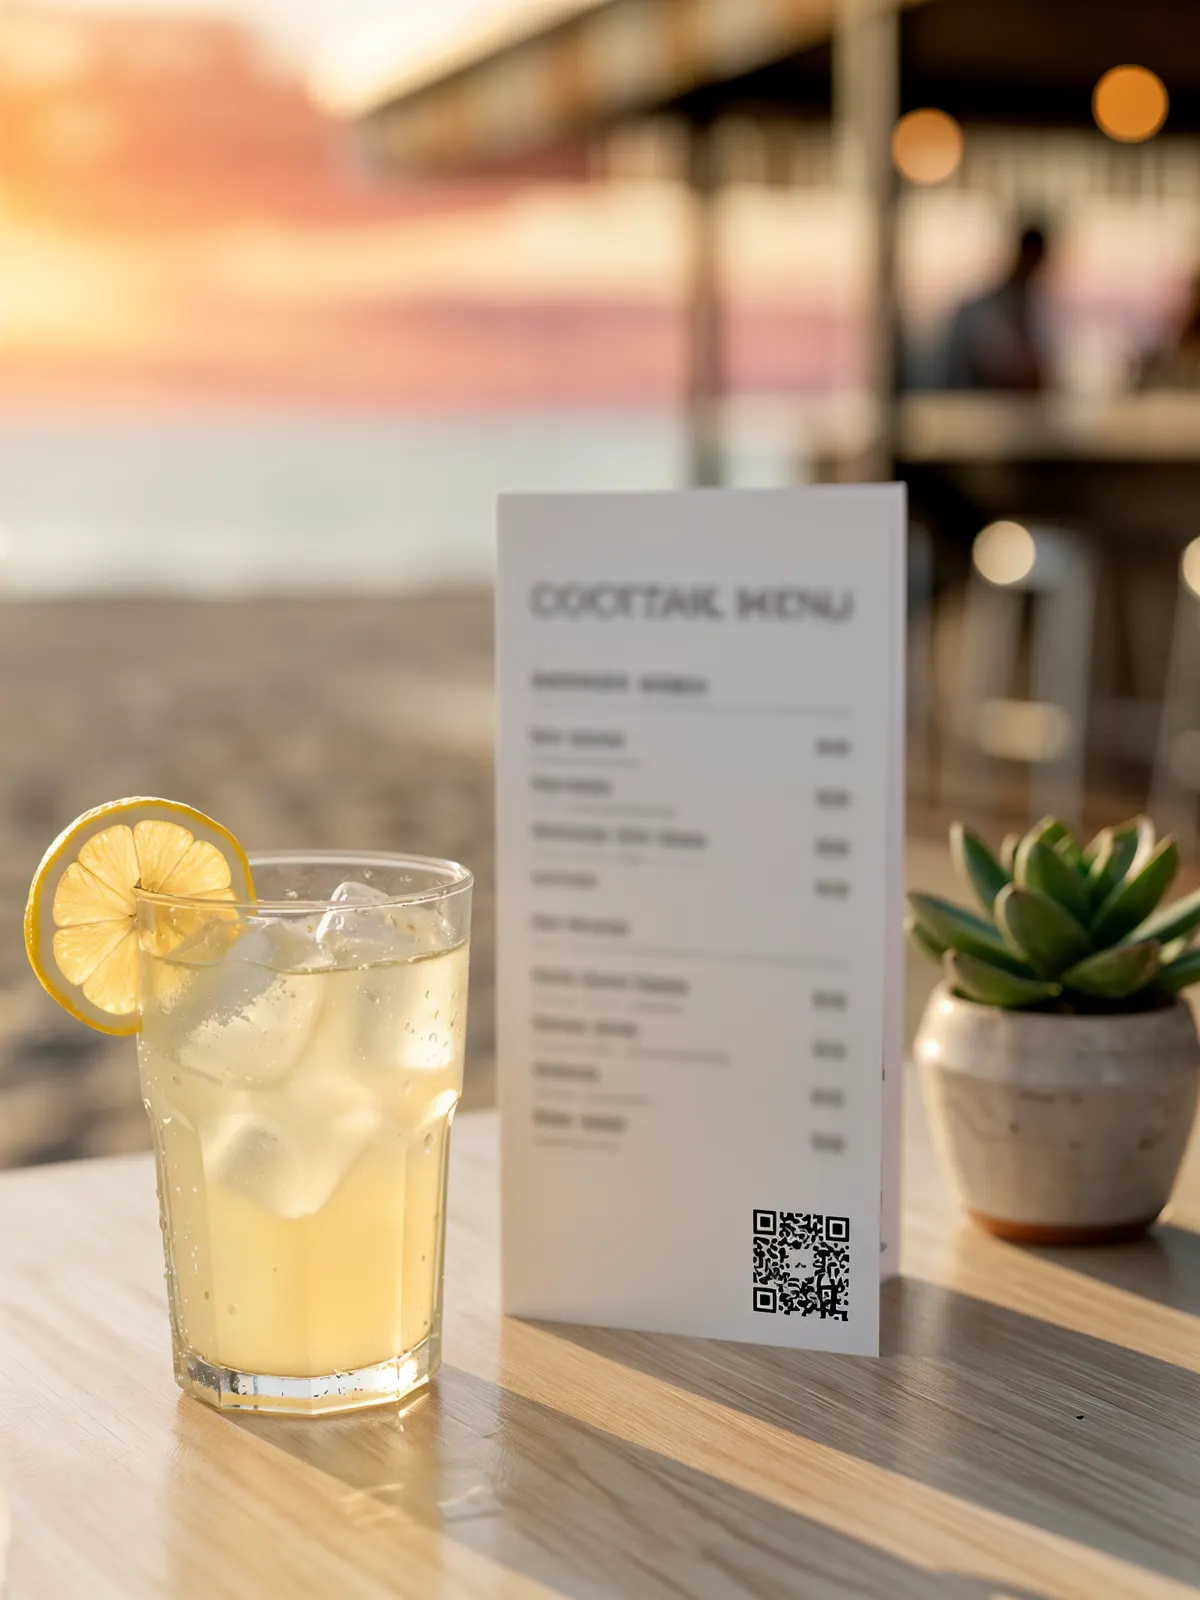
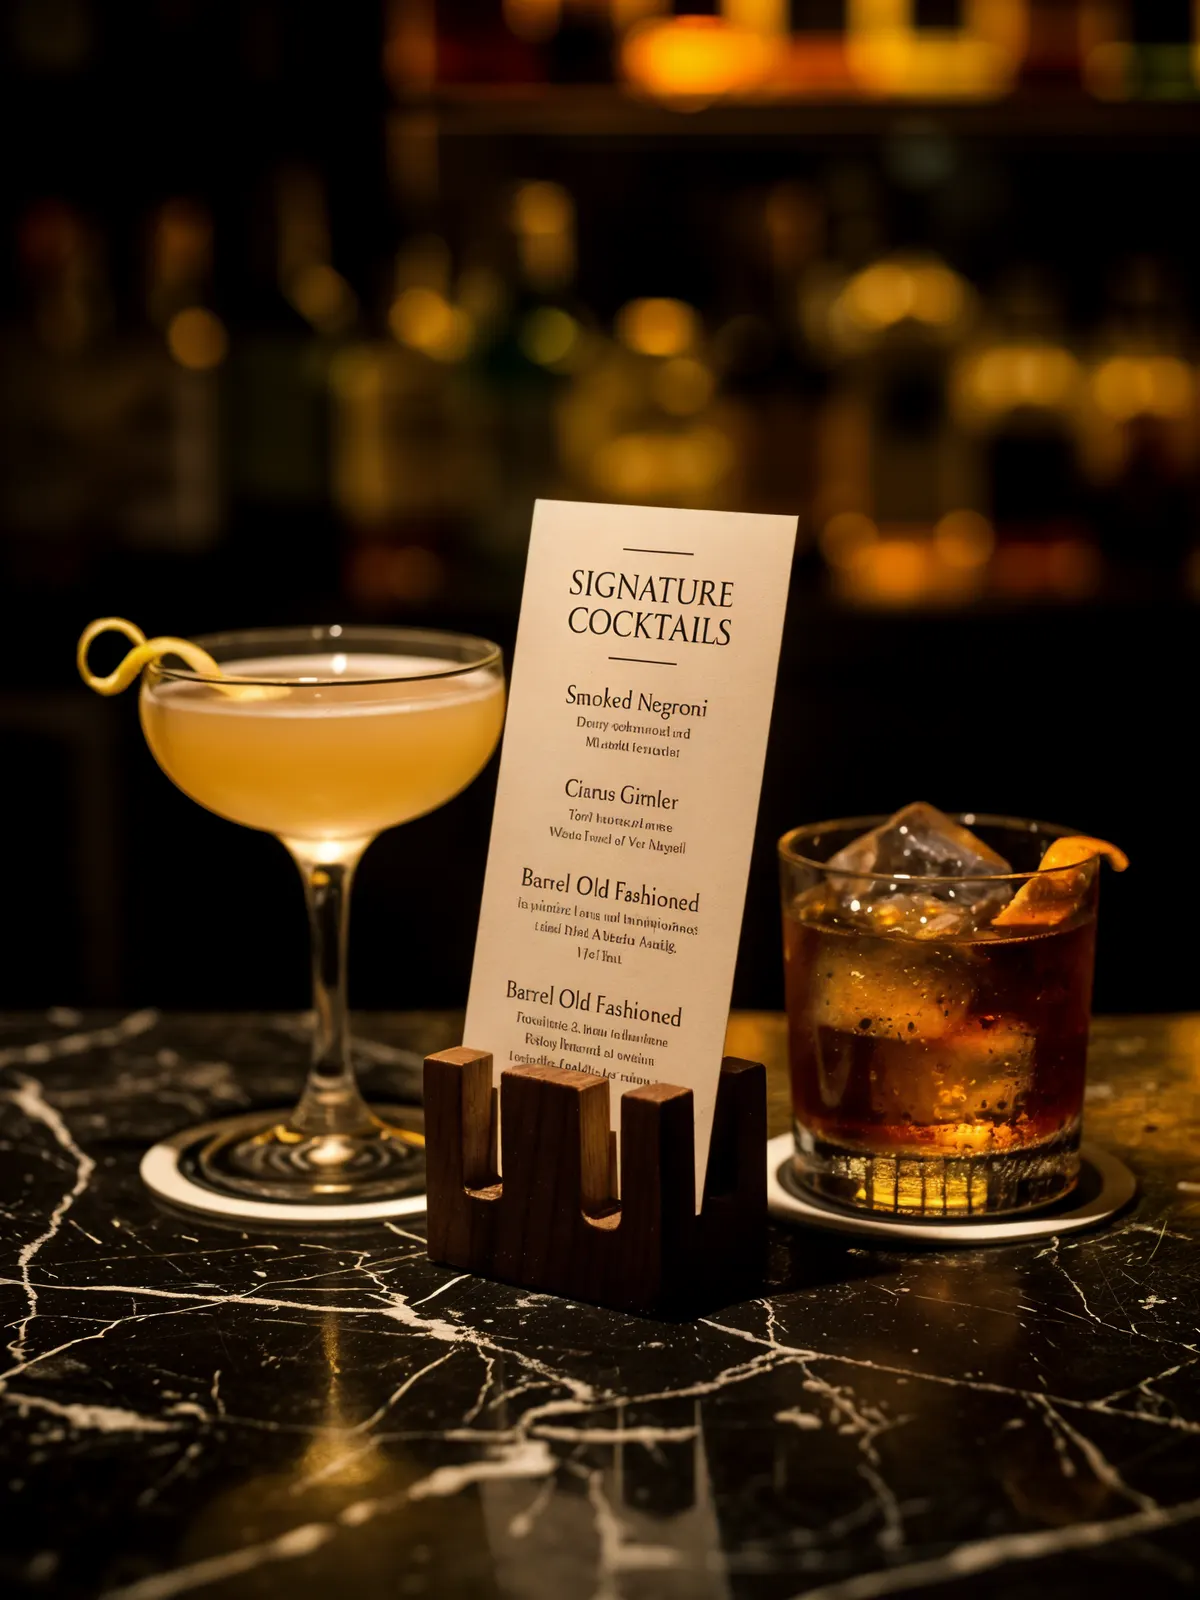
Drinks card on a wooden block

Cocktails or wines on a tall card, held by a clothes peg glued to a block of wood. It stands on the bar or the table.

Drinks card on a wooden block
Time
30 min
Cost
Difficulty

Best for: Cocktail bars, wine bars, rooftops, hotel lobbies

You need

  • A4 card, 300 gsm
  • Wooden clothes pegs
  • Offcuts of square timber, about 5 × 5 cm
  • Wood glue
  • Scissors or a craft knife
  1. Step 1: Print three cards on one A4.
  2. Step 2: Cut them apart on the marks.
  3. Step 3: Glue a peg upright on the block.
  4. Step 4: Clip the card in, set it out.

Tip: No pegs? Saw a 3 mm slot across the block and stand the card in it.

Print settings
  • A4 landscape
  • 3 cards per sheet
  • 99 × 210 mm
  • 300 gsm
Print this format

Mini zine menu

One sheet, one cut, eight little pages. A pocket menu for takeaway bags, events or the kids’ table.

Mini zine menu
Time
5 min
Cost
Difficulty

Best for: Food trucks, coffee carts, pop-ups, events

You need

  • A4 or Letter paper, 80-100 gsm
  • Scissors
  1. Step 1: Print one sheet, single-sided.
  2. Step 2: Fold into eight, then open it.
  3. Step 3: Cut only the middle slit.
  4. Step 4: Fold it in half the long way.
  5. Step 5: Push the ends to the middle.
  6. Step 6: Flatten it into an 8-page booklet.

Tip: The top row prints upside down on purpose. After folding, every page is the right way up.

Print settings
  • A4 or Letter landscape
  • 80-100 gsm
  • single-sided
  • 8 panels
Print this format

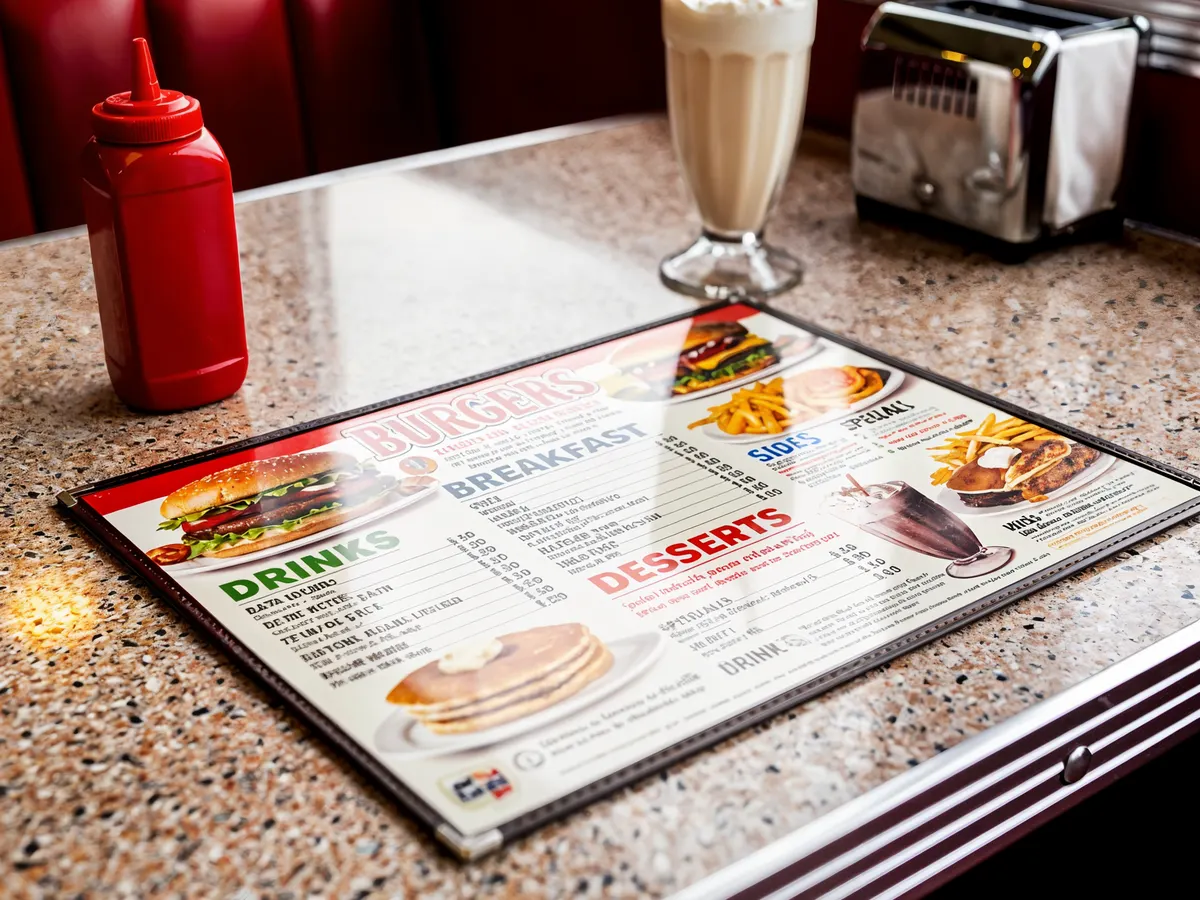
Laminated diner menu

Double-sided, wipe-clean and built for ketchup. Add more pages with two book screws.

Laminated diner menu
Time
20 min
Cost
Difficulty

Best for: Diners, kebab shops, beach bars, kids’ menus

You need

  • A4 or Letter paper, 120-160 gsm
  • A laminator and 125 micron pouches
  • A corner rounder or scissors
  • For more pages: a hole punch and book screws
  1. Step 1: Print both sides, two columns.
  2. Step 2: Pouch it, sealed edge first.
  3. Step 3: Run it through the laminator.
  4. Step 4: Round off all four corners.
  5. Step 5: More pages? Punch two holes.
  6. Step 6: Join them with book screws.

Tip: Laminate what stays the same for months. For prices that move, laminate the cover and clip in a fresh page.

Print settings
  • A4 or Letter
  • 120-160 gsm
  • double-sided
  • two columns
Print this format

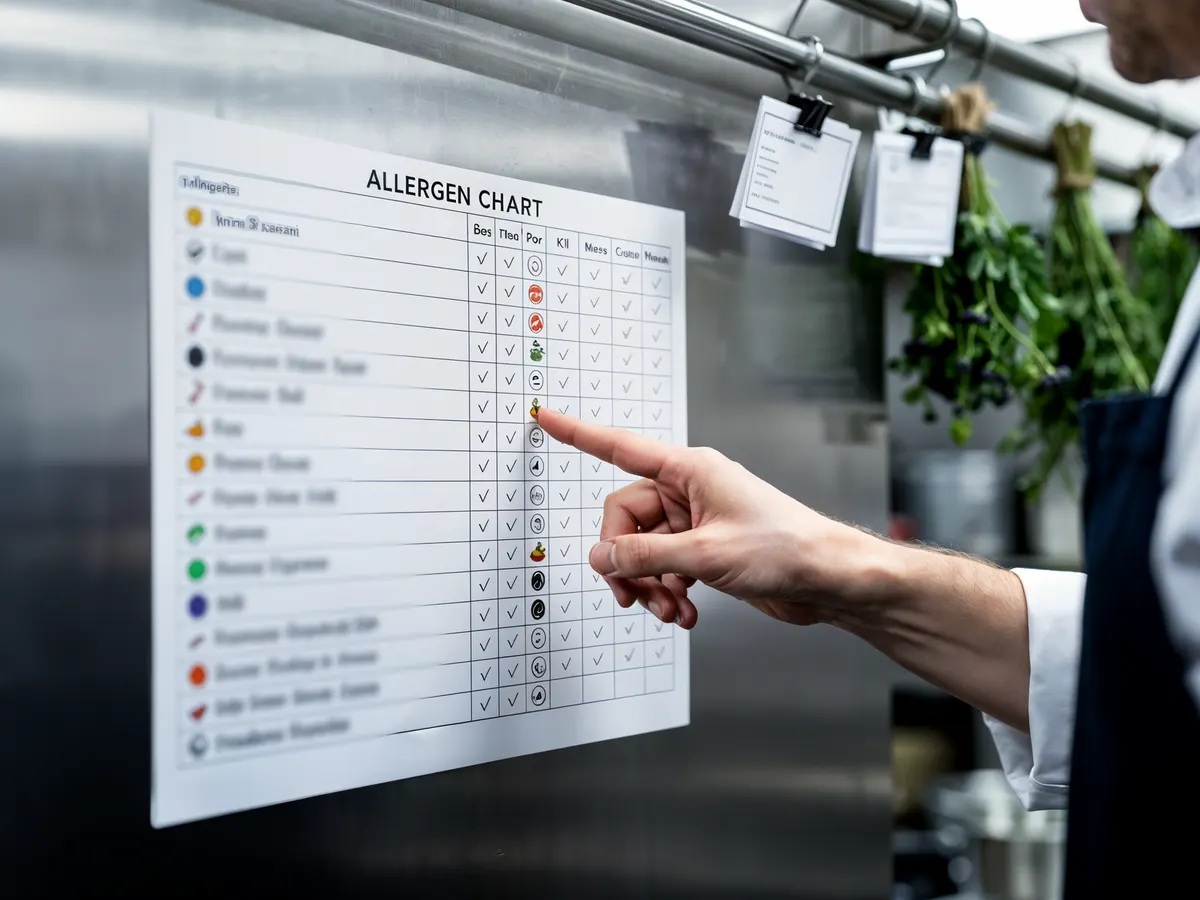
Kitchen allergen chart

Every dish down the side, the 14 allergens across the top. GustoQR builds it from your menu, so it matches what guests see.

Kitchen allergen chart
Time
15 min
Cost
Difficulty

Best for: Every kitchen, front of house, catering, hotel buffets

You need

  • A4, Letter or A3 paper
  • A clear sleeve or tape
  1. Step 1: Tick the allergens on each dish.
  2. Step 2: Print the chart, landscape.
  3. Step 3: Put it up where staff look.
  4. Step 4: Recipe changed? Update it, reprint.

Tip: Pin one copy at the pass and one by the till, so whoever takes the order can answer straight away.

Print settings
  • A4, Letter or A3 landscape
  • 80 gsm
  • single-sided
  • dishes × 14 allergens
Print this format
GustoQR plans

Your menu is free. Forever.

Free
$0forever

Not a trial. No card needed.

  • Many menus on one account, each with its own QR
  • AI import from a photo or PDF of your paper menu
  • Auto-translation into 18+ languages, guests read in their own
  • 14 allergens, alcohol and pork notices, calories and nutrition
  • WhatsApp ordering, 0% commission
  • Print studio: the same menu in 14 formats, from A4 to booklet
  • 8 themes, 110+ currencies, prices update instantly

A small GustoQR mark shows under the menu.

Pro
$49/ year
about $4 a month

Everything in Free, plus:

  • Menu assistant: type or talk, it edits the whole menu (250 AI credits a year)
  • Waiter call and request the bill
  • POS with waiter panel and kitchen display
  • Google Review QR
  • Detailed analytics and sales insights
  • All 40 themes, your own branding, staff roles
  • We set up your menu for you, priority support
  • No setup fee
  • No contract
  • Cancel any time
  • 0% commission on orders
New · Menu assistant

Talk to your menu.

New price, new dessert, a dish sold out? Write it like a message. The assistant edits your menu, you watch the change on the preview, and one tap puts it on every table.

Menu assistantLu Diner
What shall I change?
Try one
Lu Diner
Preview
Mains
Smash burger
$14.00
Mac and cheese
$11.00
Drinks
Iced coffee
$5.00
Lemonade
$4.00
Milkshake
$7.00
Desserts
Apple pie
$7.00

How every project works.

  1. 1

    Build the menu once

    Add dishes, prices, allergens and calories in GustoQR, or import a photo or PDF of your paper menu. It is the same menu your QR code opens.

  2. 2

    Pick the format

    Clipboard, tent, tri-fold or any of 14 print formats. GustoQR fits the menu to the page and keeps the clip, hole and fold areas clear.

  3. 3

    Print at actual size

    Print the PDF at 100%, not "fit to page", on the paper the project names. For a print shop, send the version with bleed and crop marks.

  4. 4

    Cut, fold, assemble

    Follow the drawings. Most projects take 30 minutes or less, with a ruler, a craft knife and some glue.

Which paper for which menu.

Paper weight is in gsm, grams per square metre. Office paper is 80 gsm. In US weights, 100 lb cover is about 270 gsm.

MenuPaperWeightWhy
Clipboard, binder pagesMatte or uncoated120-160 gsmStiff enough to hold, still easy on a home printer.
Tri-fold, booklet pagesMatte or silk120-170 gsmFolds cleanly. Score anything heavier.
Table tent, stand card, place cardCard250-300 gsmStands up on its own. Score before folding.
Drinks card on a pegThick card300 gsmStays upright in the peg and survives wet hands.
Vellum overlayVellum90-110 gsmLets the menu show through. Inkjet ink dries slowly on it, so lay it over the print.
Laminated menuMatte, in a pouch120-160 gsm, 125 micron pouchThin paper in a thick pouch feels solid and wipes clean.
Framed menu, posterMatte or satin170-200 gsmNo glare behind glass or under spotlights.
PlacematUncoated90-120 gsmCheap enough to change for every guest.
Zine, allergen chartOffice paper80-100 gsmFolds tight, and costs nothing to reprint.

Most home printers take card up to about 200-250 gsm through the rear or manual feed. Check your printer’s manual before you buy a pack.

Home printer or print shop?

GustoQR makes a print-ready PDF for both. Most of these projects print at home; a print shop adds big sizes, heavy card and colour to the edge.

Home printerPrint shop
From GustoQRThe PDF, printed at 100%.The PDF with 3 mm bleed and crop marks.
Best forToday, 1 to 30 copies, quick price changes.Long runs, A3 and A2, heavy card.
SpeedMinutes. Reprint the day a price changes.Same day to a few days.
EdgesA white margin round the page. Trim it or design with it.Prints past the edge and trims, so colour runs to the edge.
PaperUp to about 200-250 gsm on most printers.Card, kraft, vellum, textured stock.
SizeA4 or Letter.A3, A2 and bigger.

Both PDFs come from the same menu: change a price once, print again, nothing to redo.

Before you print 50 copies.

  • Print one proof

    Check it against the clipboard, stand or frame before the full run.

  • Actual size, not fit to page

    "Fit to page" shrinks the menu, and the cut marks stop matching the stand.

  • Prices and allergens checked

    Change them in GustoQR first. The QR menu updates at once, the paper on the next print.

  • A QR code on the back

    Guests scan for photos, other languages and today’s prices.

  • Let the ink dry

    Give inkjet prints a few minutes before you fold, laminate or stack them.

  • A sleeve for the menu that changes weekly

    Put it in a sleeve, a clipboard or a frame instead of laminating it, so the page swaps in seconds.

Your QR menu and your paper menu stay in sync.

Both come from the same menu. Change a price once: guests see it on the QR menu at once, and the paper version is ready to print again in a minute.

Build my menu free

The 14 allergens your chart can show.

Tick them per dish in GustoQR. They print as codes on the menu and as a dish-by-allergen chart for the kitchen.

  • 01Gluten
  • 02Crustaceans
  • 03Eggs
  • 04Fish
  • 05Peanuts
  • 06Soy
  • 07Milk
  • 08Tree nuts
  • 09Celery
  • 10Mustard
  • 11Sesame
  • 12Sulphites
  • 13Lupin
  • 14Molluscs

Questions owners ask

How do I make a printable restaurant menu for free?

Create your menu on GustoQR’s free plan, or import a photo or PDF of the one you have. Open the print view, pick a format and print. The free plan needs no card and has no time limit.

What size is a restaurant menu?

Most one-page menus are A4 (210 × 297 mm) or US Letter (8.5 × 11 in). Table tents and stand cards are often A5 (148 × 210 mm). Long place cards are 99 × 210 mm, three to an A4 sheet.

What paper weight should I use for a menu?

120-160 gsm for pages guests hold, 250-300 gsm card for anything that stands up, and 80-100 gsm for zines and kitchen charts. In US weights, 100 lb cover is about 270 gsm.

Can I print a menu at home and still get clean edges?

Home printers leave a white margin. Keep it as part of the design, or print on a bigger sheet and trim on the crop marks with a ruler and a craft knife.

How do I make a menu cover?

Glue two boards a little bigger than A4 onto linen or a leather offcut with a gap for the spine, fold the edges over, then add photo corners or an elastic to hold the printed page. Project 5 shows every step.

Do I have to reprint when prices change?

Your QR menu updates the moment you save. Paper needs a reprint, but it is the same menu, so it takes a minute. Clipboards, sleeves and frames make swapping the page quick.

Can I print the menu in two languages?

Yes. GustoQR translates your menu into 18+ languages, and the print view can put two of them side by side on one menu.

What is an allergen matrix?

A chart with dishes down the side and the 14 allergens across the top, marked where a dish contains one. Kitchens pin it up so staff can answer guests fast. GustoQR builds it from the allergens on your menu.